In this post, we’re going to give you a step by step walk through of using a Rest API with UKG Pro. (We’re planning on dealing with the SOAP API in a different post).
For this example, we’re using the employee lookup API. As a UKG customer, you can find the API documentation here. We’re happy to send you all the sample code.
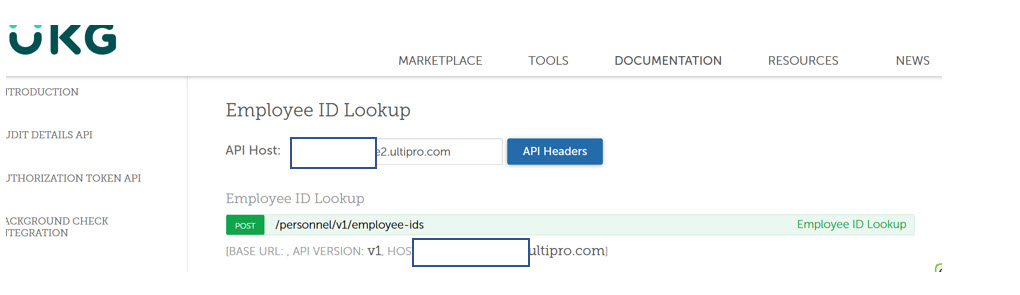
One note: When you pull up documentation for the first time, you’ll often see a bare minimum screen:
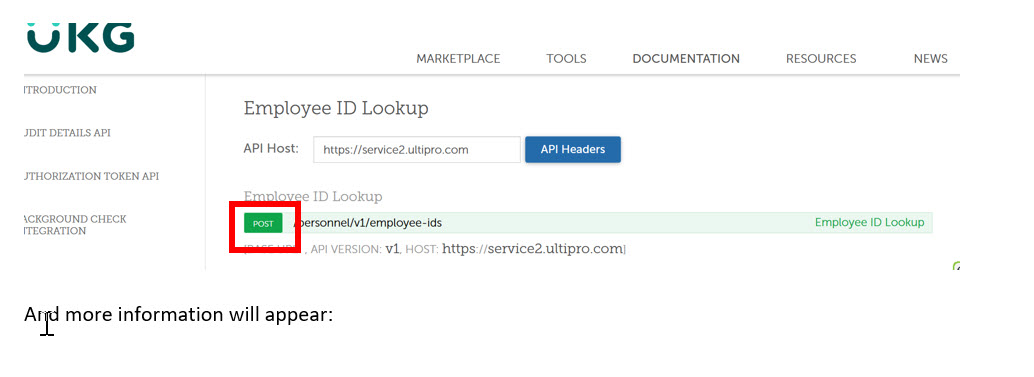
Click on the action (in this case Post)
We’re doing this in Postman. We’ve worked with lots of Rest APIs. The only constant is that something will probably break in the future. Therefore, we make sure that our basic calls to our APIs can work in Postman. This way we eliminate as many dependencies as possible when issues arise in the future.
Gathering the values you need:
Environment Variables in Postman
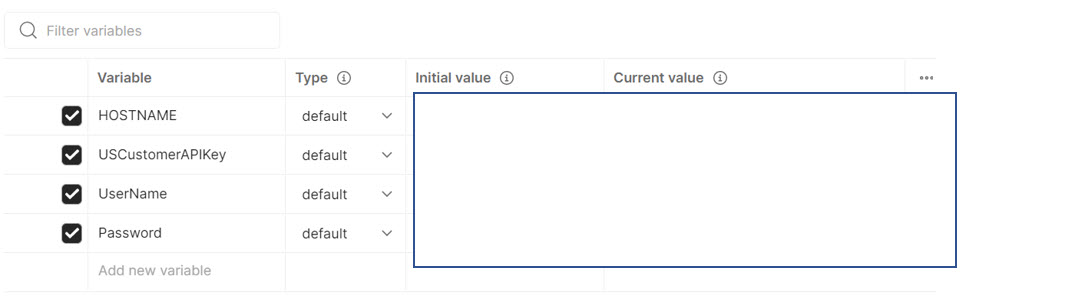
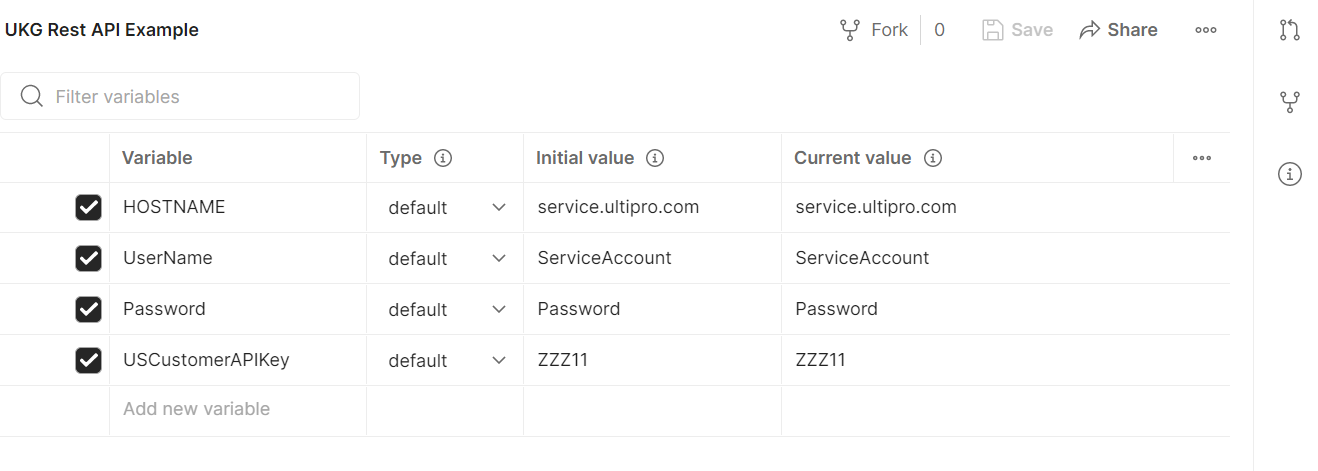
We have created four environment variables in an environment called UKG Rest API. You’ll need to supply values for each of these items.
Host Name and US Customer API Key.
Go To Security -> Web Services.
You’ll see the Customer API Key. You only need the first part of the URL for the Host Name. We use the same environment for multiple calls. We only want to change the host easily as we move between systems.
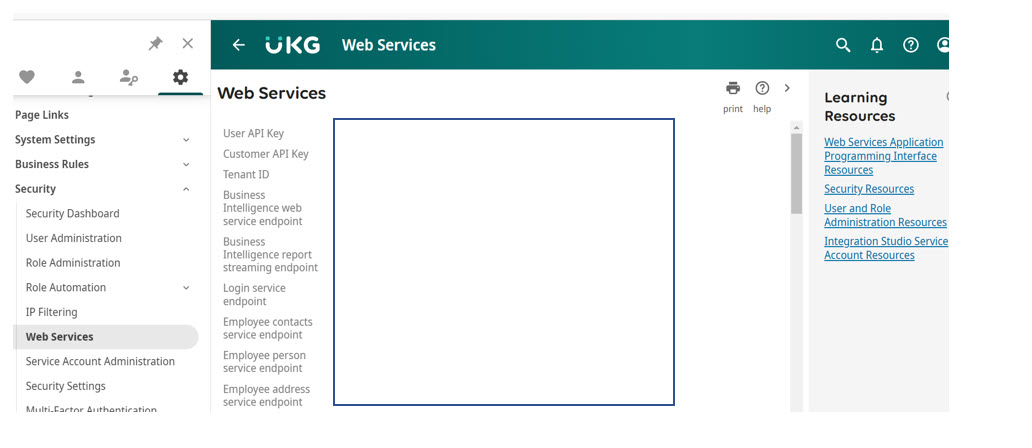
So, the Customer API Key will be five characters like ABCDE. And the hostname will be like subdomain.ultipro.com.
User Name and Password
You can use a regular account or a service account for most APIs. You want to use a service account. Otherwise, you’ll be dealing with password expiration nonsense.
You can find Service Account Administration also under security.
For the Rest API, you want the User Name, not the User API Key.

You may either set up a new Service Account or create a new one. In either case, you’ll need to review the password or the security.
If you click on an existing account, you’ll see the next page which shows the various available services.
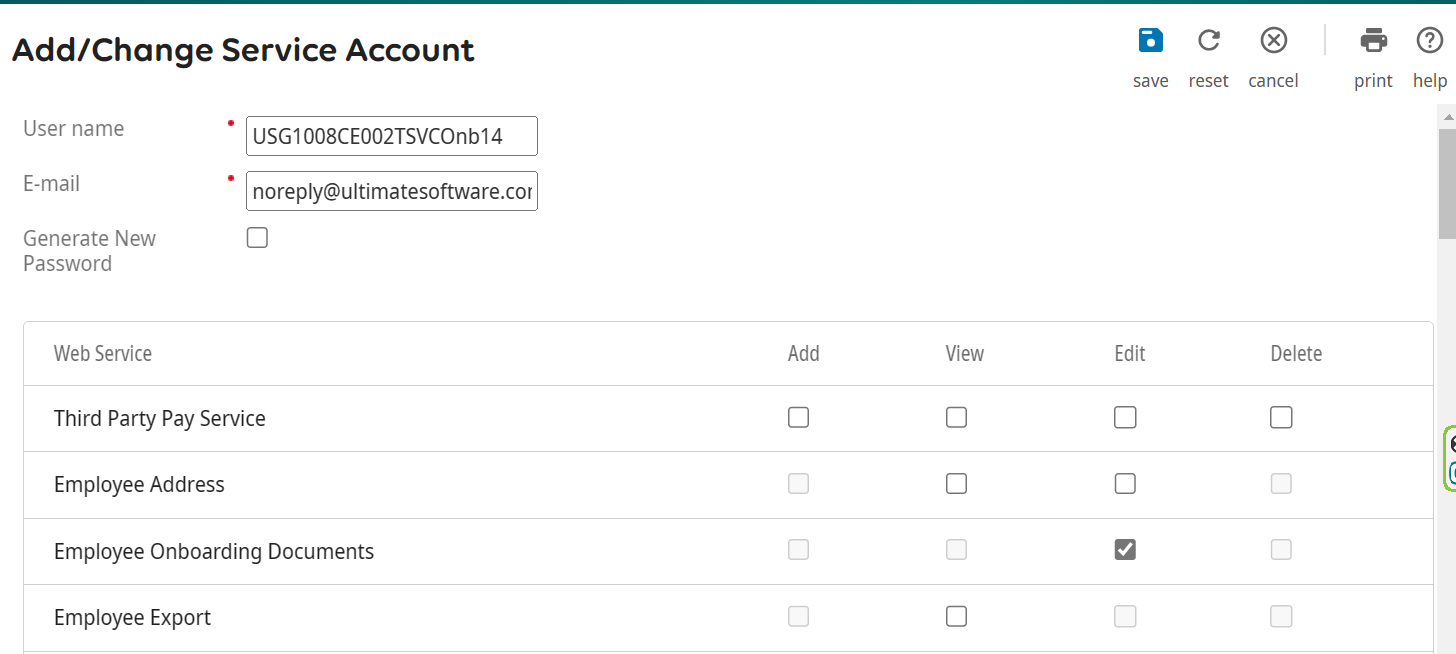
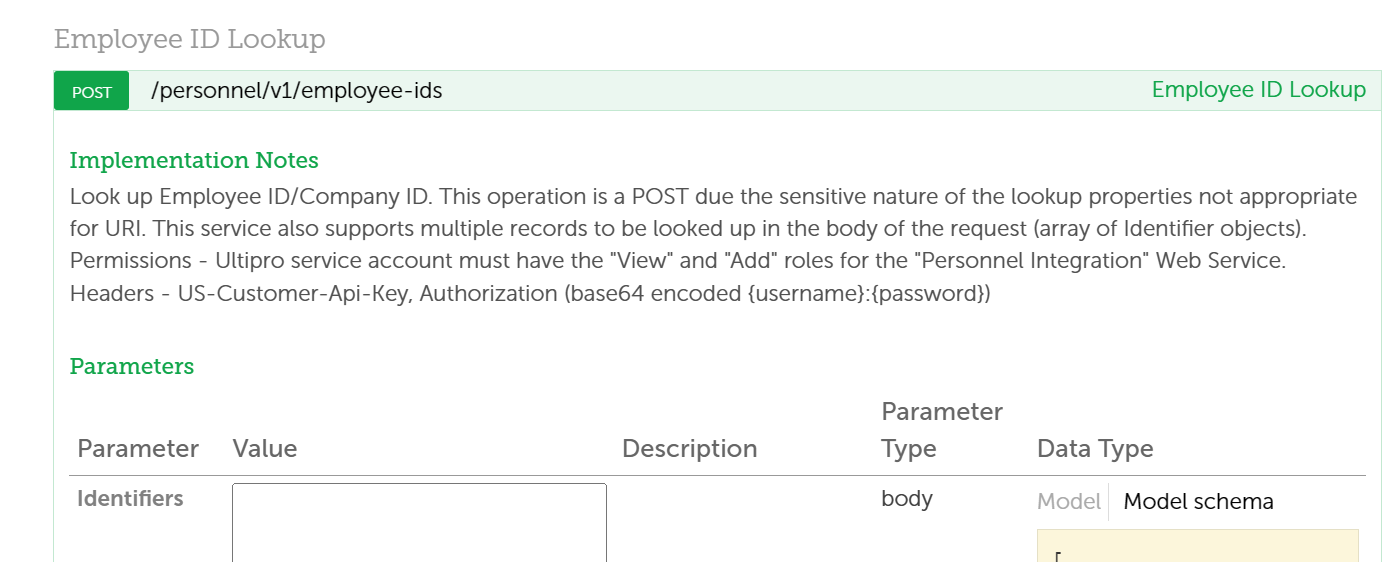
First, we want to make sure that this account has the appropriate. Scroll down to find Personnel Integration and make sure that Add and View are checked. (The security requirement is specified in the documentation). Note that this screen does not sort alphabetically. Need to confuse the enemy as they say. Make sure to click Save in the top corner:

If you have an account where you know the password, great. When you create a new account, the system will show you the password to use.
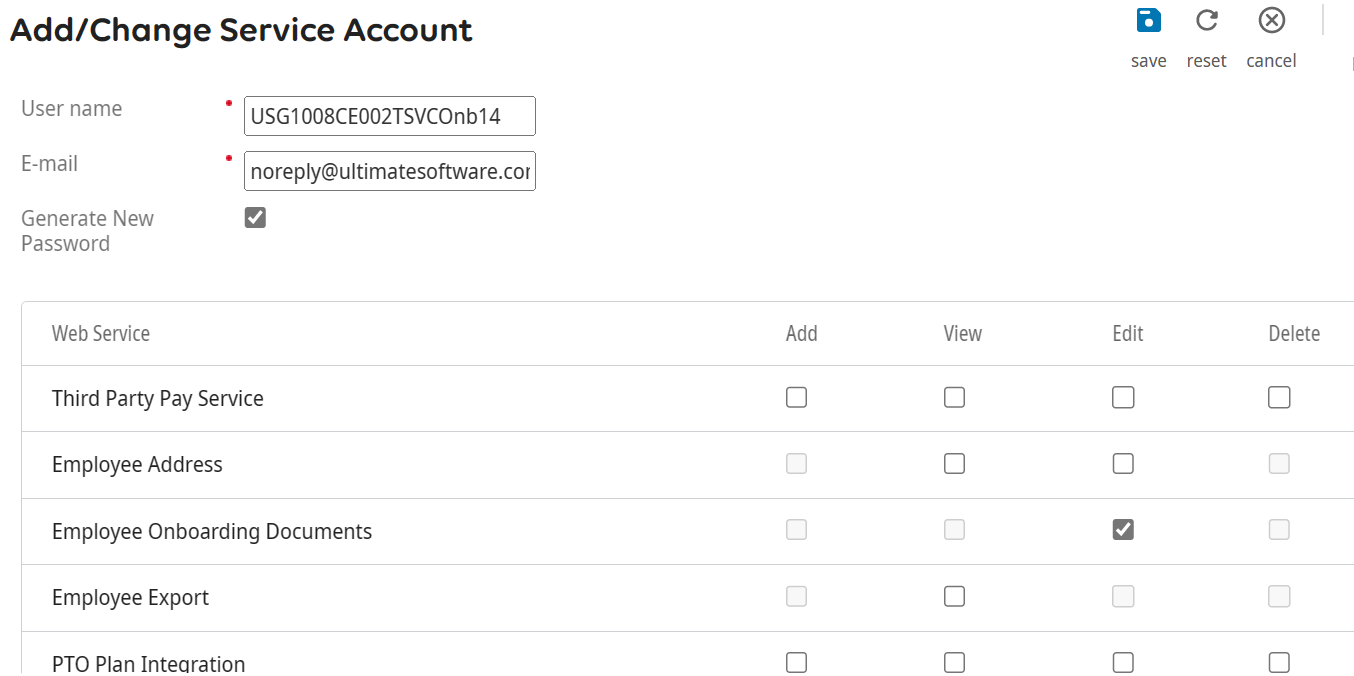
To create a new password, on the same screen click Generate New Password and then click save.
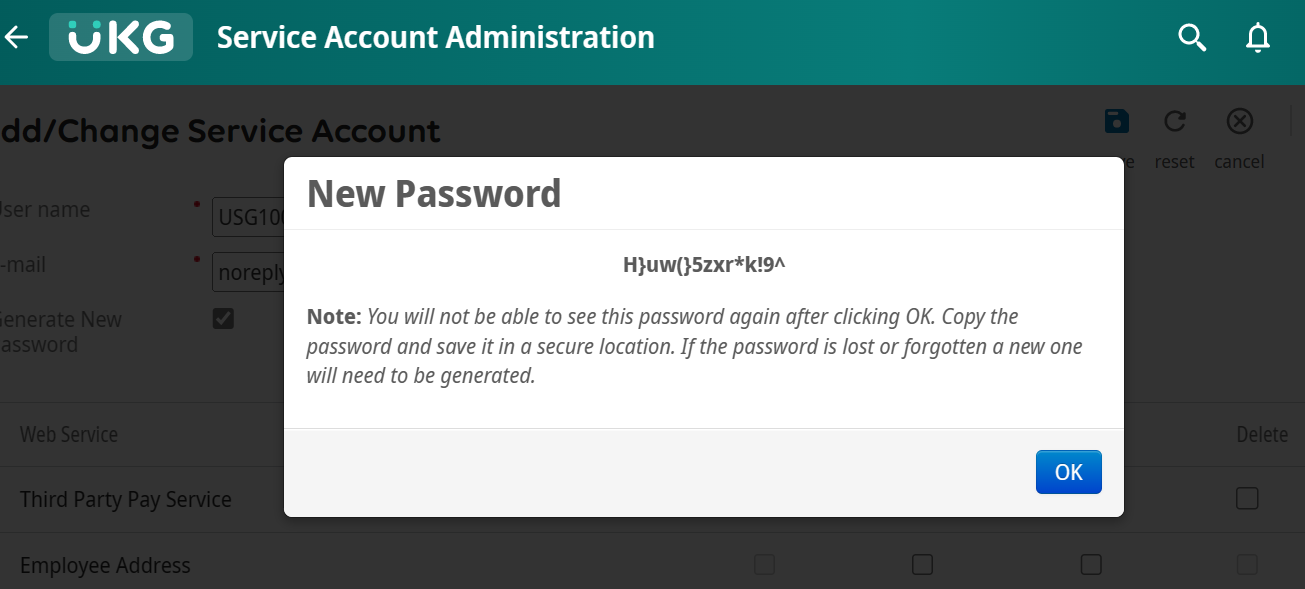
The password will appear. Please copy it down.
Other Values for a particular Request
For our example, we need the CompanyID and an email address for a user. For this test, any email for any user will work.
For example:
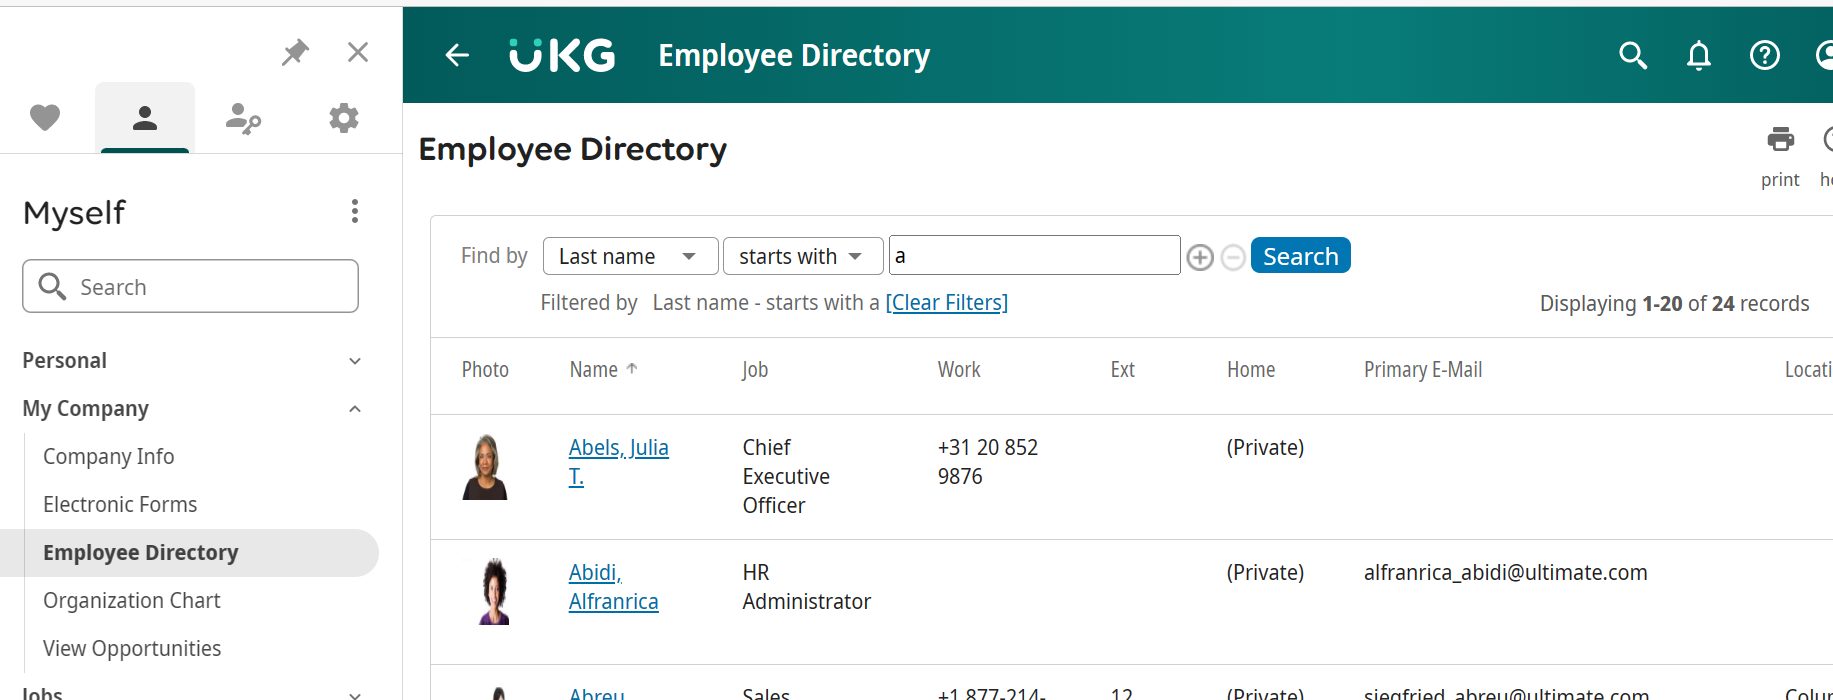
The CompanyID is a five-digit unique code for every company in your system.
You can find this with a sample BI Report called Organization Structure for Third Party Vendors which can be found here:

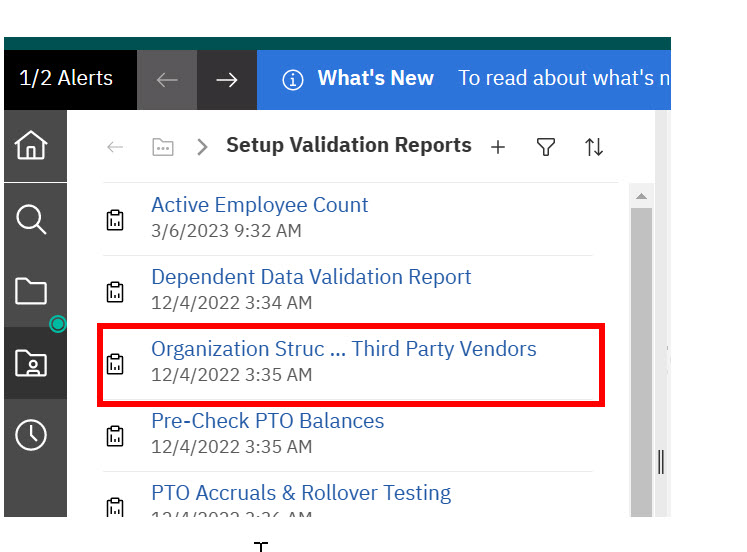
The first tab of the report has company information.

Now, you have all the information you need. Let’s go to Postman
Postman
Importing the collection and environment.
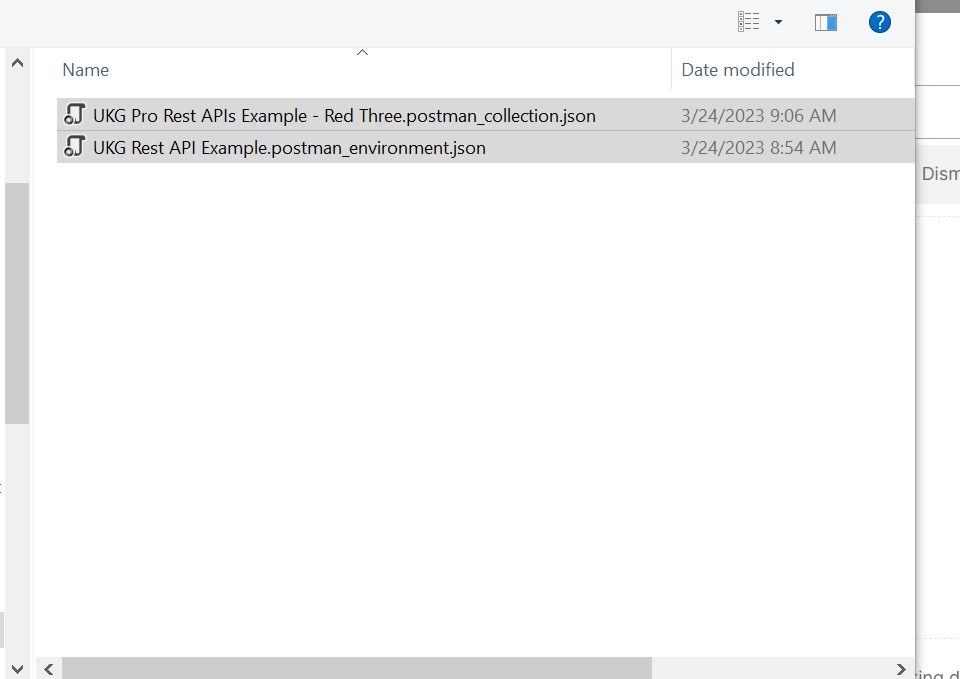
If you request our code, you’ll see two relevant files:
The Environment and The Collection
Import them into Postman as follows:
You may import them directly into Postman.
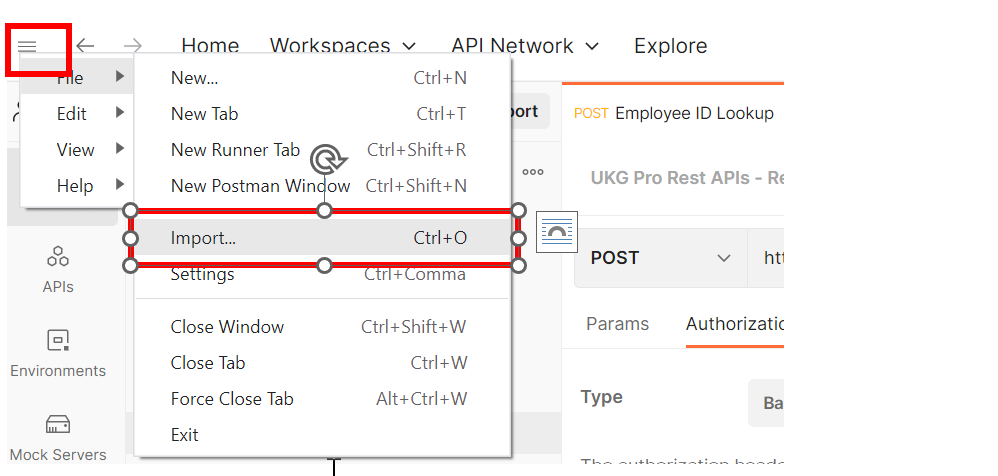
In Postman, click on the top left-hand corner and choose file then import:
Click choose files:
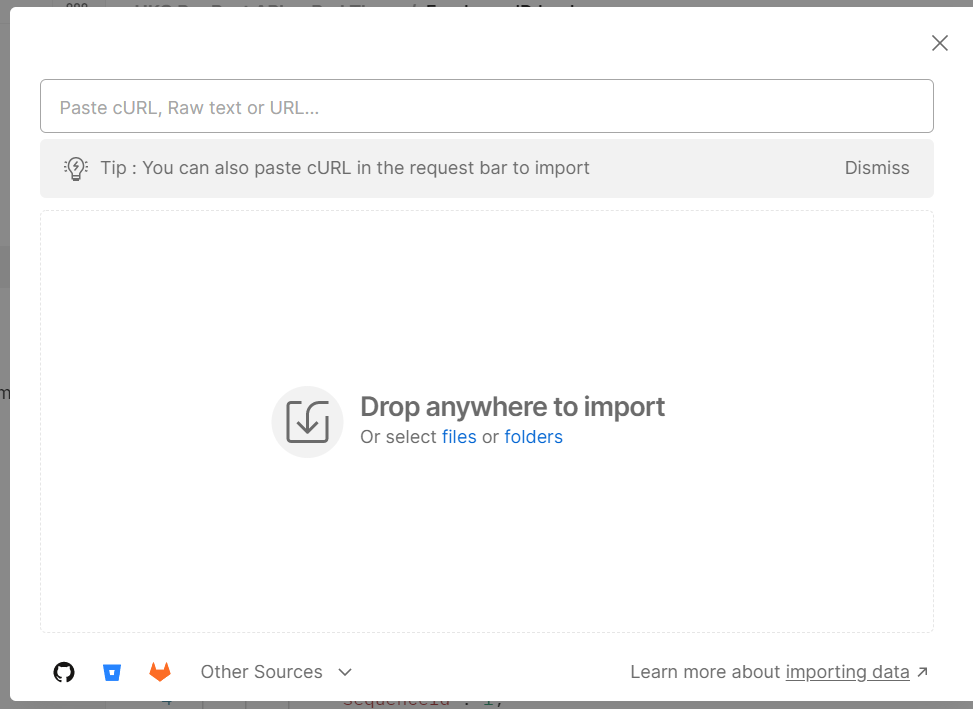
Select the environment and the collection:
Confirm the import:
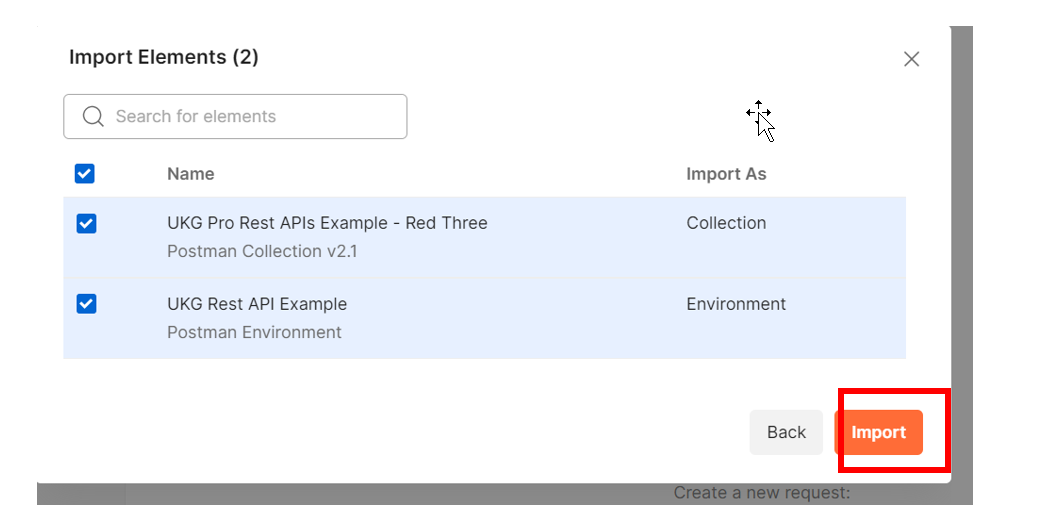
You should now seem them in Postman.
Updating Values in Postman
You’ll need to update the postman environment to store the four key variables you obtained up to:
Please make sure to save your values after entering:
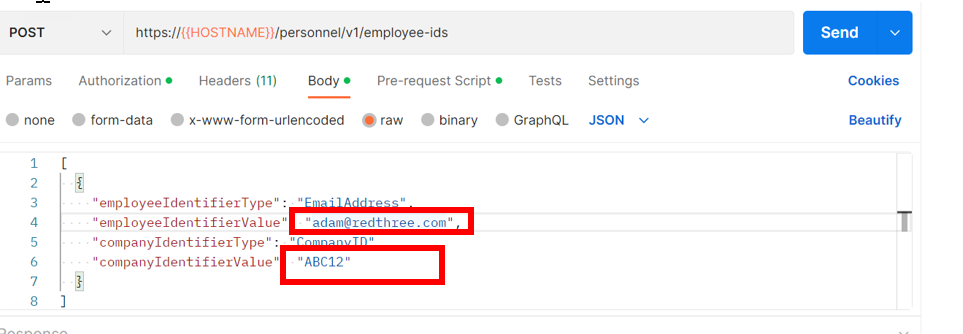
Update the Postman Body with your CompanyID and the email you wish to test.
(Note: Per Postman Documentation, we should be possible to use variables in the body as well. But I haven’t been able to make it work yet).
Review the rest of our call
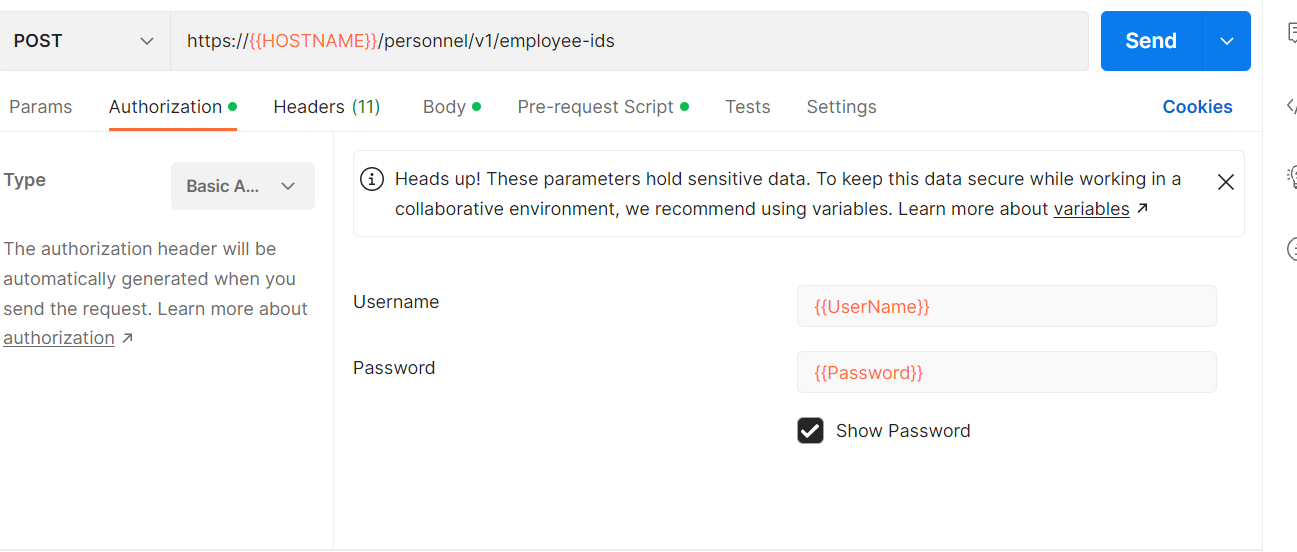
For your information, we have also setup Authorization and Headers.
Under Authorization, we refer to the UserName and Password from the environment:
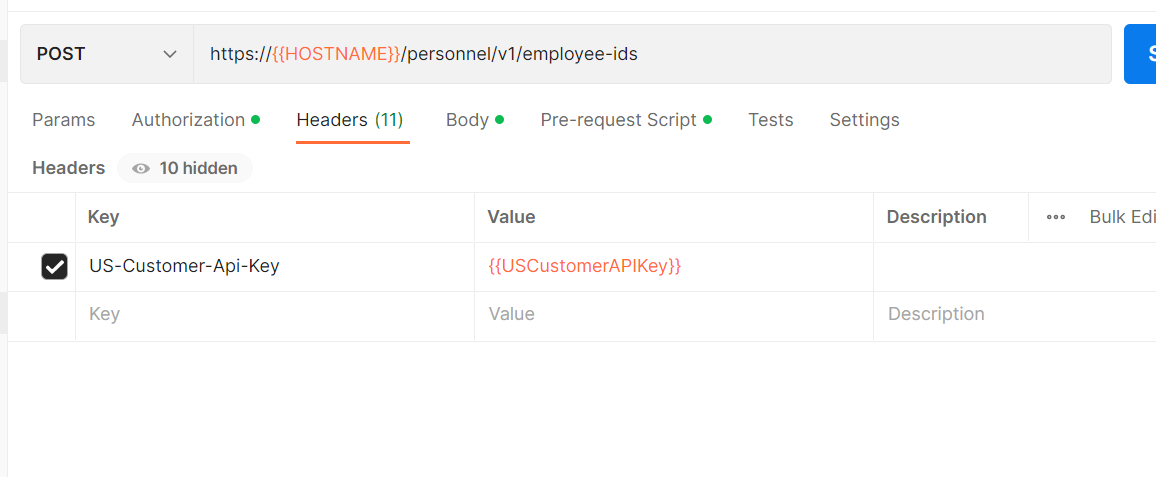
Under Headers, we’ve used the USCompanyAPIKey.
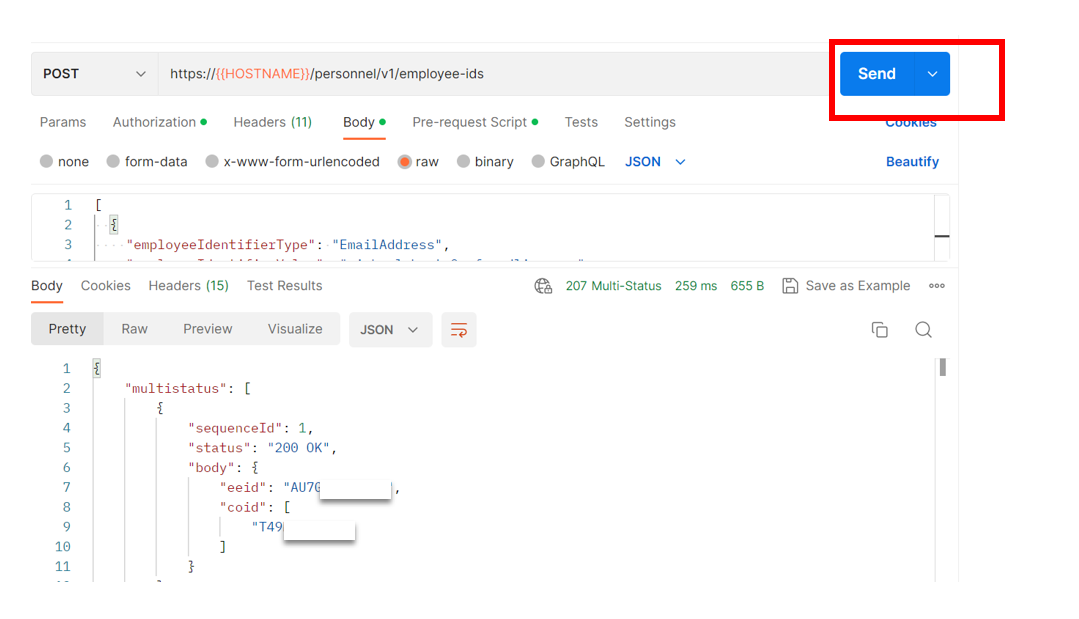
Once you’ve done everything, click send and check your response:
One more note:
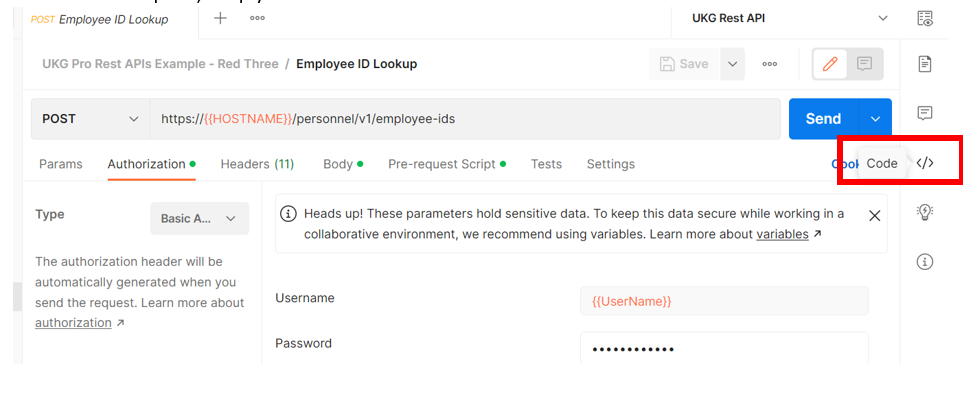
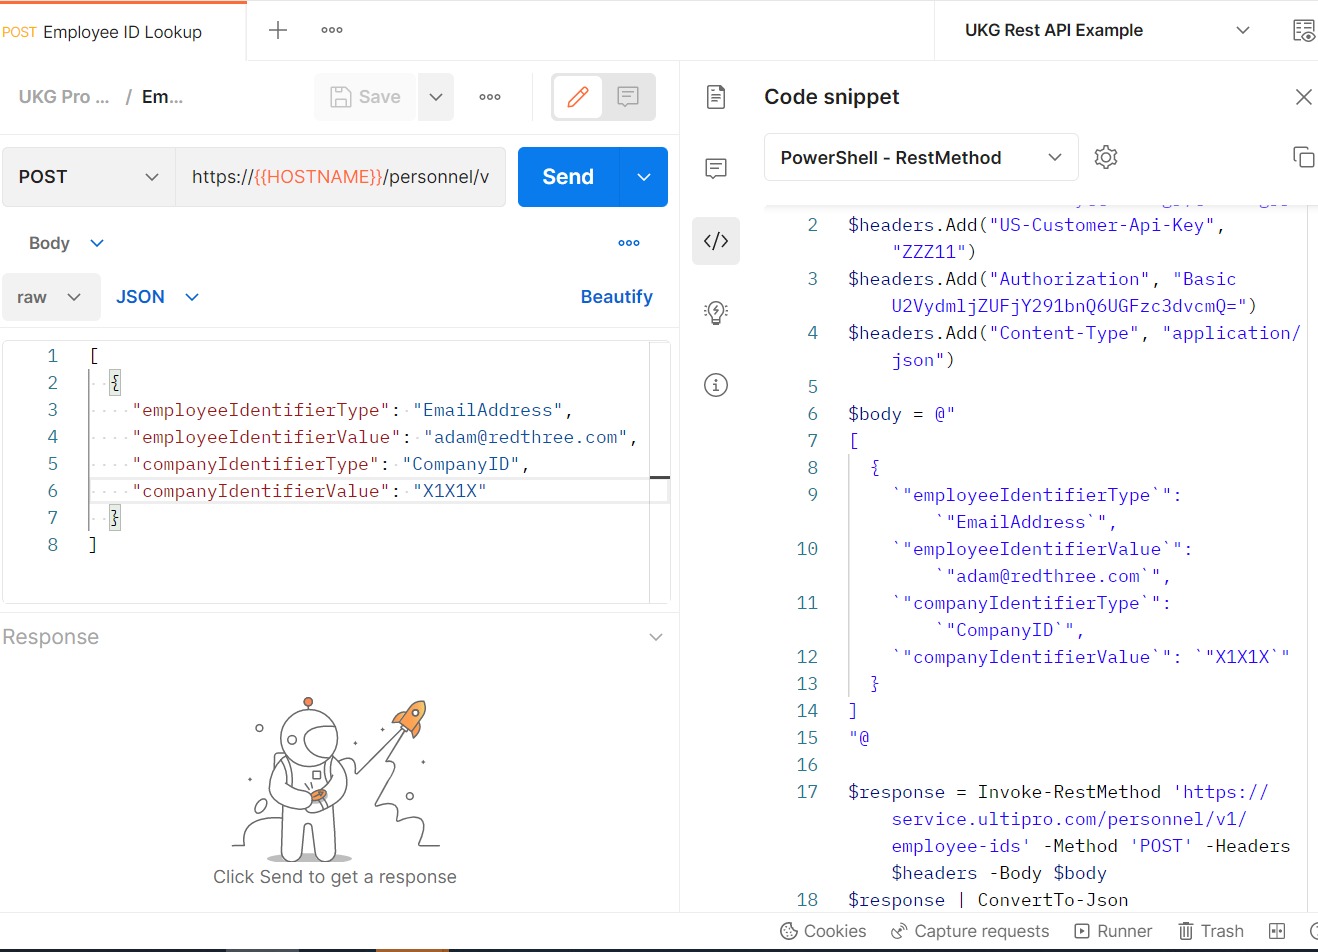
Postman has the cool ability to turn any request into actual code. While we don’t use the code as is, it’s a good starting point.
When in the request, simply click on the code icon:
You can choose the code you want:
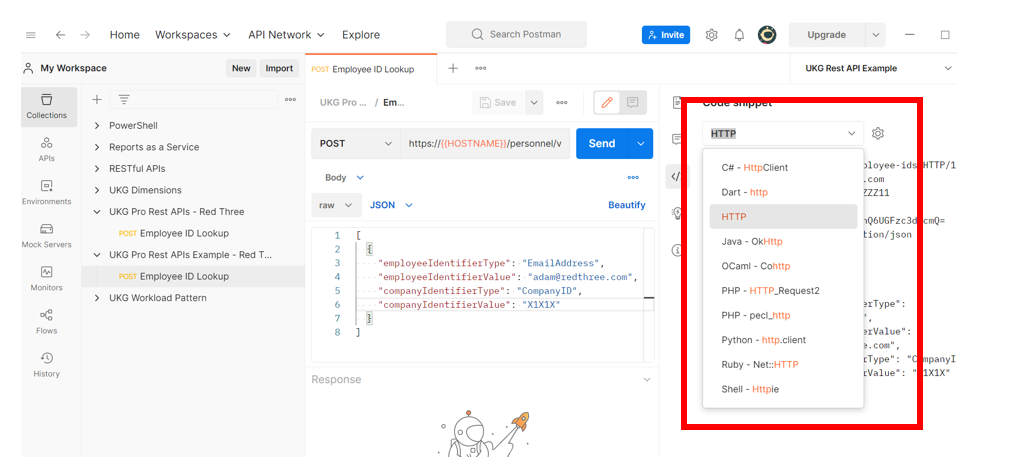
I’ll choose PowerShell Rest API (because we like PowerShell for integration. And I’ll receive sample code:
Have any questions? Comment below or Contact Us